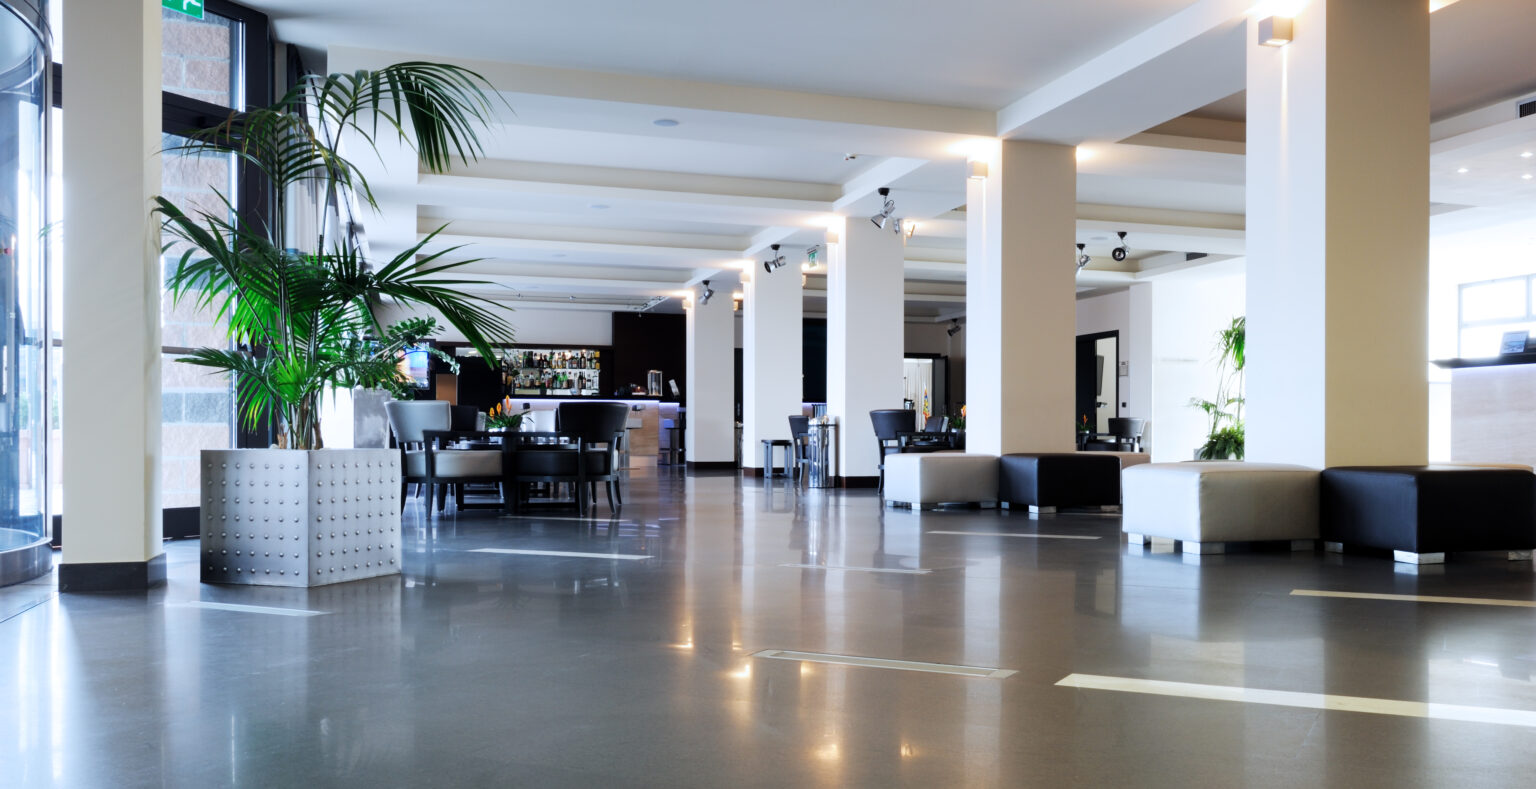
As a business owner, you understand the importance of properly preparing your product. Miss a single step, and you cannot deliver the quality to which your clients are accustomed. That’s precisely how we feel about demo and concrete surface preparation.
In this post, the JDL Surface Innovations team goes over the importance of floors being properly prepared for concrete coatings.
Why Is Proper Concrete Surface Preparation Critical?
Concrete surface prep is the most critical step in installing any flooring. If you skip this stage, you risk many problems developing later. These may include:
- Peeling
- Bubbling
- Cracking
- Unevenness
- Discoloration
Without the proper preparation, the coating compound cannot sink into the pores of the concrete. Dirt and debris may get in the way, interfering with how well the compound can adhere to the substrate.
Over time, the areas that do not adhere properly lift, damaging the floor. You are likely to notice discoloration in these areas.
How Do You Prepare the Surface?
Surface preparation encompasses the removal of the existing flooring and preparing the substrate for the new coating. This simply means removing all the old flooring or coating and thoroughly cleaning the substrate.
Contractors usually fix small imperfections and cracks in the substrate before roughening it up a little to improve adhesion. Let’s have a look at the stages of the process in greater detail.
What Are the Stages?
Surface Assessment
The condition of the substrate will determine the next steps. If the flooring is in relatively good condition, it’s easy enough to move on. However, if there are visible signs of cracking, or you can see rusting rebar, it may be wise to replace the slab instead.
When we assess a surface for a coating, we also perform a moisture check. Rising dampness will impact the adhesion of the coating, even though we follow all the correct installation steps. Therefore, we perform this simple check so that we can advise you if there is a moisture issue.
Removal of Old Coatings
Removing the coatings is time-consuming, but it is worthwhile. While it seems as though the old coating will stubbornly stick for years, it will fail. When it does, it will mar the look of your new coating.
If you were re-coating the surface every couple of years, this would not be an issue. However, considering that the time between replacements is likely to be five to ten years in a commercial setting, it’s worth the extra effort.
We use power tools to chip away the old coating without damaging the substrate.
Remove Surface Contaminants
If there are no old coatings, the cleaning stage takes on new importance. During this stage, we carefully remove old grease, oil, and other contaminants that may interfere with how well the new coating adheres.
Even if the substance is non-greasy, it can affect the new coating, interfering with the coating’s ability to stick to the floor. Worse, it will interact with the sealant chemically, damaging it from the underside.
The danger here is that there will be few, if any, visible signs on the upper surface. It will only be when the coating fails prematurely that you will realize there is an issue. Therefore, we ensure that we remove all traces of contaminants before we continue.
Removing Loose Parts
Crumbling bits of concrete are not a big deal as long as they are confined to a small area. If, however, most of the concrete is crumbling, we will recommend laying a new slab. We remove any loose bits from any minor problem areas to prevent them from flaking away over time.
While the epoxy holds cracked concrete together well, crumbling concrete leaves a weak point in the flooring. We remove the parts and then fill in the hole to create a solid foundation.
Fill in Cracks
Concrete cracks naturally over time. If these are surface-level cracks, they are not serious. However, significant cracks across the whole slab could indicate a severe underlying problem or an issue with the foundation.
Epoxy coatings will hold a slab together as long as most of it is sound. Therefore, we will fill in minor cracks and imperfections during the demo and concrete surface preparation steps.
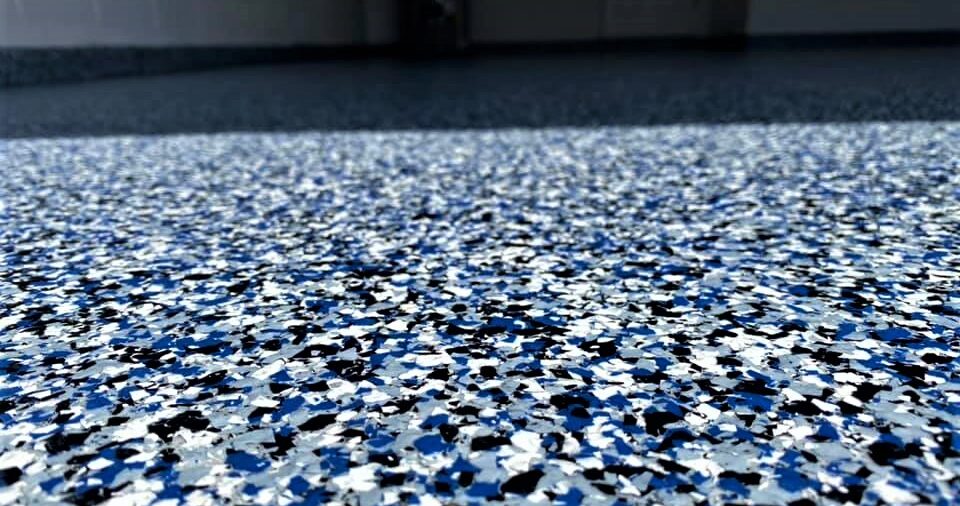
Profile the Surface
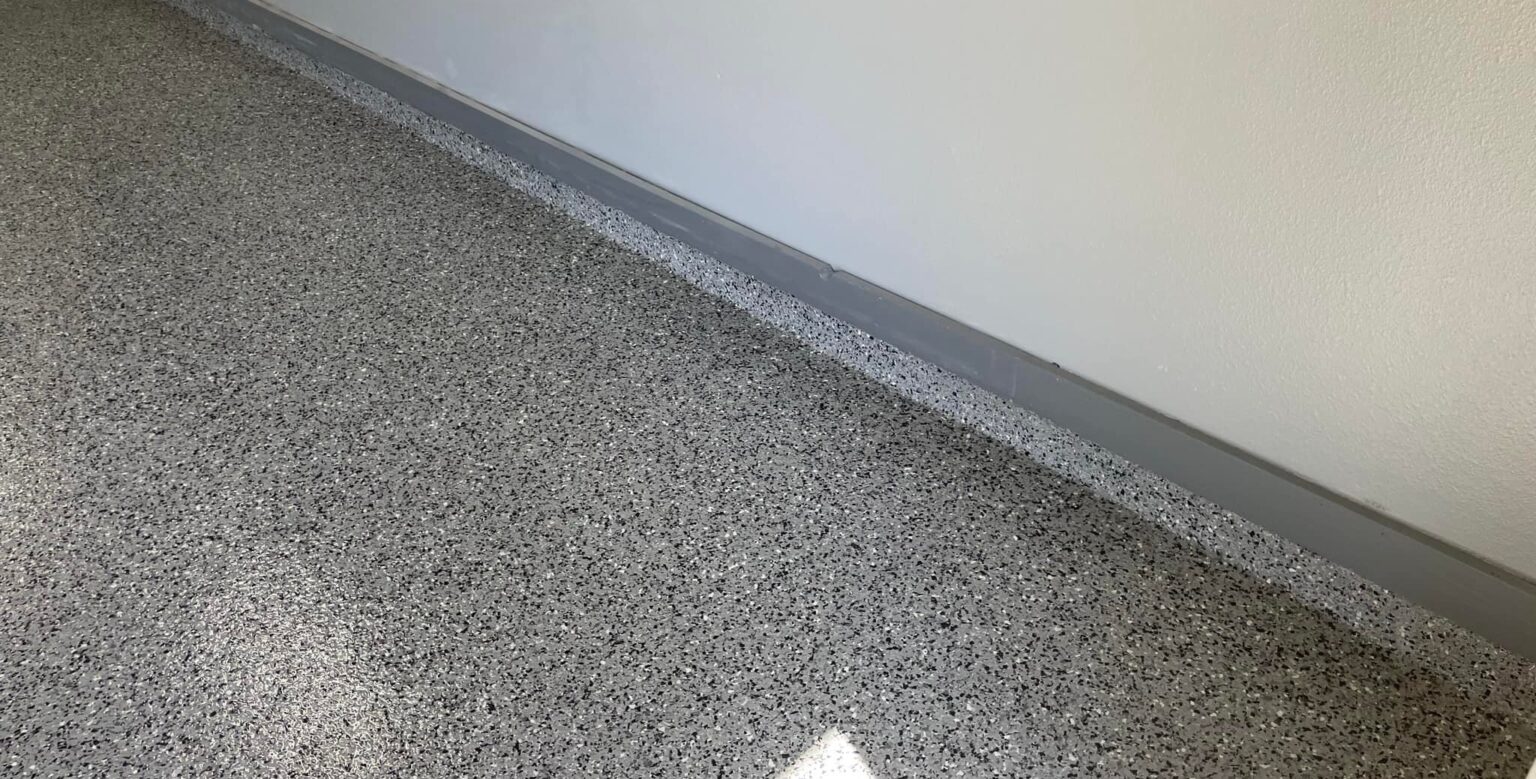
Now that the surface is solid, it is time to profile it. During this process, we roughen up the surface so that there is a greater surface on which the epoxy can grip. This allows for both chemical and mechanical bonding.
Clean Away Any Debris and Dust
At this point, we vacuum any dust and debris away. This leaves the surface as clean as possible for the final stages to avoid any discolored patches or low adhesion points.
Dry the Surfaces
The final preparation stage is to ensure the floor is dry before pouring the coating. Moisture may prevent adhesion because it evaporates during curing and may form small holes. Also, if the floor is too wet, it may interfere with the overall curing time.
If there is any exposed metal in the flooring, the moisture might also result in flash corrosion.
Demo and Concrete Surface Preparation in Cape Coral
Are you looking for a team that treats demo and concrete surface preparation with the respect it deserves? Are you ready to transform your concrete surfaces? Contact JDL Surface Innovations at (239) 772-0077 and experience our high level of service and attention to detail today.